Miter Sled
For an upcoming project my wife and I are planning on making a frame. So in order to get miters that are as close to perfect as possible I decided to make a miter sled for my table saw.
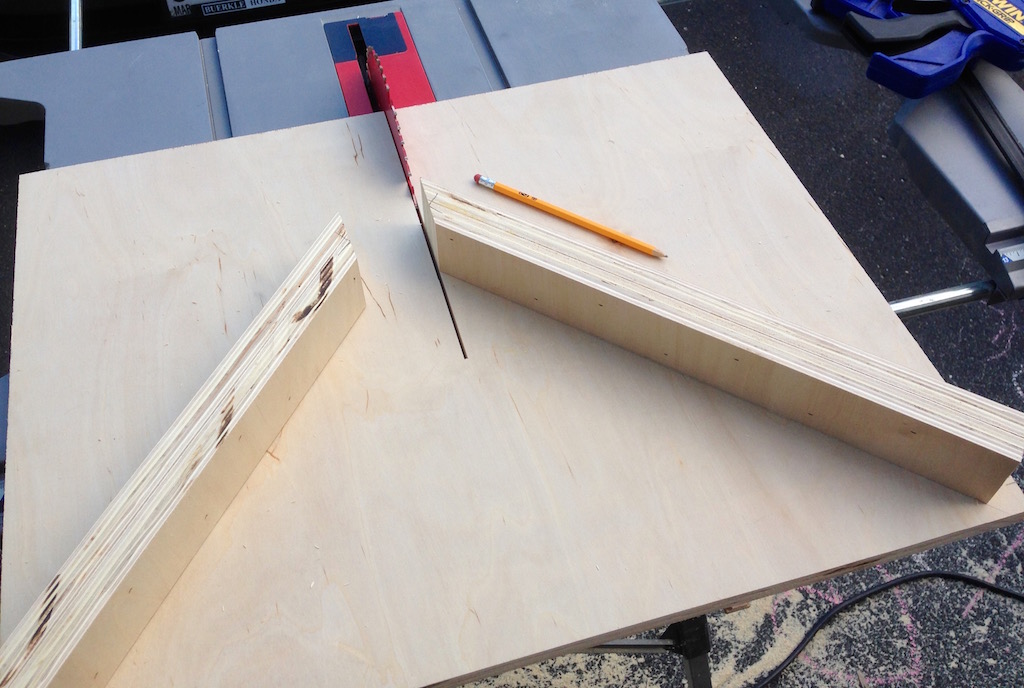
A miter sled is essentially a flat surface with two fences at 45 degree angles to the blade and 90 degrees to each other. The surface then rides on runners which travel in the table’s miter slots which are parallel to the saw blade. This configuration essentially makes it very simple to make very accurate 45 degree cuts but even more accurate 90 degree joints. As long as you can get one fence close to 45 degrees to the blade then it is a lot easier to get the second fence to be almost exactly 90 degree to the first. Thus if you make one cut against the first fence and the mating cut against the second fence even if they are not exactly 45 degree cuts they should form a nearly perfect 90 degree joint. This kind of precise cut is well suited for something such as a picture frame.
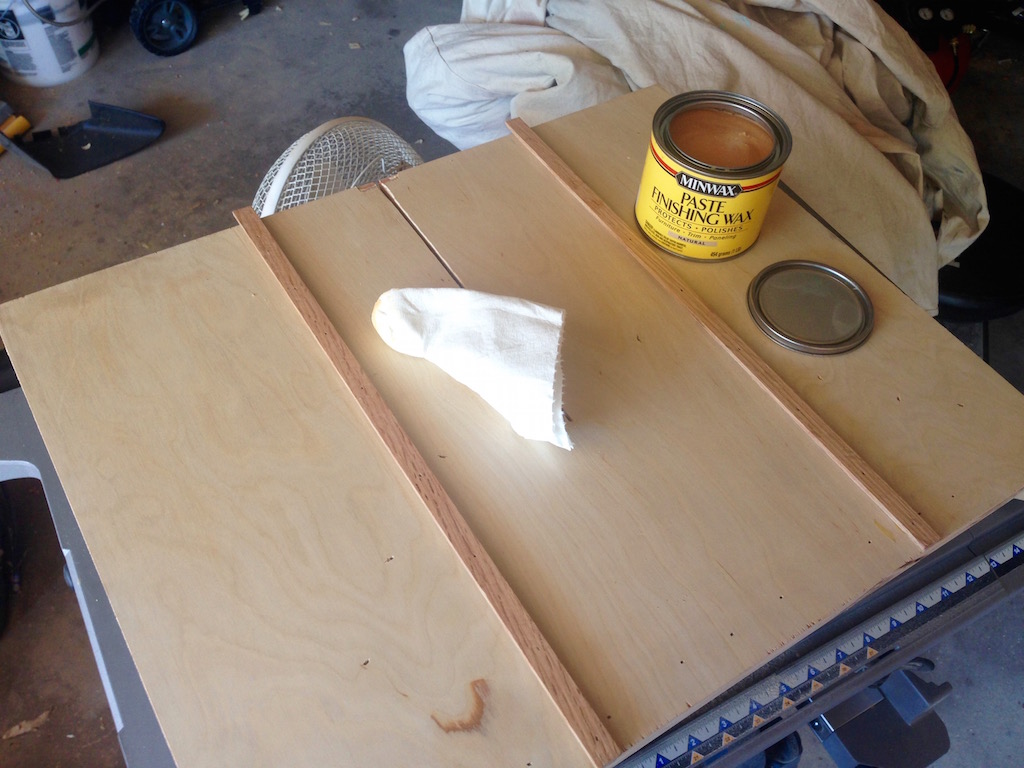
To make the fence I started with a piece of scrap 3/4 inch birch plywood. In fact the entire sled is made from scraps for extra material I had in the garage. I cut the plywood to the rough size that I wanted, about the same size as the surface of my small table saw. I then placed some extra runners I cut to fit in the funky sized and shaped miter slot on my saw. I raised the runner a bit with some washers to provide a raised surface to glue the plywood to. I added some glue to the runners and put the plywood in place. I then put some weight on the plywood to add some gluing pressure. After letting the glue dry for awhile I removed the weight and slid everything out just far enough that I could put some brads into the runners. Then I pulled the whole thing out and added plenty of brads to hold the runners in place and straight. Next I put the sled back into the miter slots, raised the saw blade all the way and cut a little less than half way through the sled. Then I measured the distance from the top of the sled to the top of the blade and used this measurement to makes some strips of plywood which I glued and tacked together. These double thick pieces of plywood should make pretty sturdy and straight fences. I cut the fences to length and marked a 45 degree line from the blade, trying to be as accurate as possible. I then glued and clamped the first fence in place and tacked it in from the bottom. With the first fence in place I cut a 45 degree angle on the second fence which I used to joint the two fences together to make a 90 degree angle. Once the second fence was trimmed to size I used a square to place the second fence at a nearly perfect 90 degrees to the first fence. This was then glued and tacked into place as well. With both fences in place I cut a square piece of scrap 1x8 pine and along with a cutoff from one of the fences I made a blade guard and reinforced the structure of the sled. To make using the sled easier I cut some scrap 2x4 in to a simple hand rail. This hand rail also creates a space which I found to be good for placing my pencil and measuring tape between cuts. Finally I flipped the sled over and applied a coat of Paste Finishing Wax to the bottom and runners. This finish should help the sled slide freely over the table saw.
For this project I got a lot of inspiration from Steve Ramsey’s video about building a miter sled.